Parts on the Cheap
For those who have purchased just the cabinet shell and are venturing to source all the parts or build the unit on the cheap; I've got some tips for you.
Around the holiday shopping season last year (2013) I was at the local Five Below (a $5 or less dollar store) And found this. For $5 it has to be worth the buttons in parts alone. So I spent five bucks.
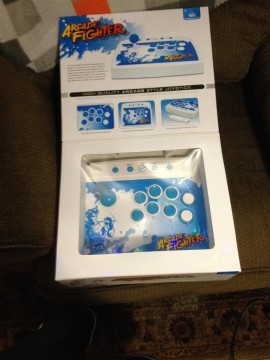
Skipping ahead, I de-soldered the buttons and removed the joystick. With a nice soldering iron this task was not too difficult. The buttons that came out of it were generic 'Sanwa' style buttons. And for 50 cents per button they are an awesome deal. I wish I bought 3 more of these units, despite the color scheme.
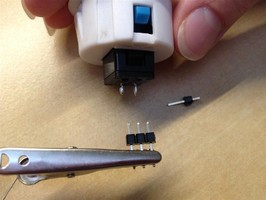
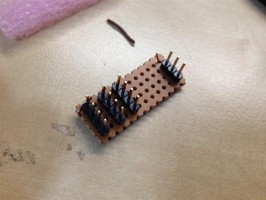
I have some ribbon cable with female headers on both sides. This is great for plugging things into the Raspberry Pi headers. It's not so great for these buttons. But, good news! The pitch spacing between the solder ends on these buttons is 0.1 inch! I had some break-away male headers on hand. I soldered these male headers on the buttons ends.
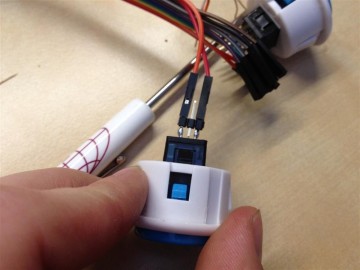
I ended up hot gluing this assembly too, to add some strength. Another convient thing I noticed was the plug that connected the joystick to the original control panel. It used standard 0.1" header connection. I removed the plug coupler to get more length out of the male plugs.
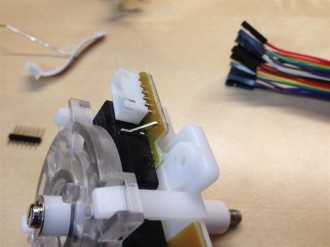
 I used a multimeter to determine the pin-out of the header.
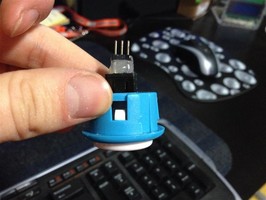
Since each button and direction of the joystick need to connect to ground, i made a grounding header. Instead of making a special harness that daisy chains all the ground, I used the extra male break-away header i had to made a multi pin plug where all the gounds will terminate, and carry one ground to the Raspberry Pi.

Here's the entire asembly. Works very well, and only cost $5 plus some extra parts I had. So if you guys ever find some arcade fighter-stick on clearance, I'd take a chance on it. The parts might prove worthy. Oh, and you'll need a soldering iron too...
Never have I had a mod go this smoothly. This Never happens for me. The Porta-Pi and its early versions have given me some of the most frustrating moments when mods/builds. I thought I'd share one of the better experiences.
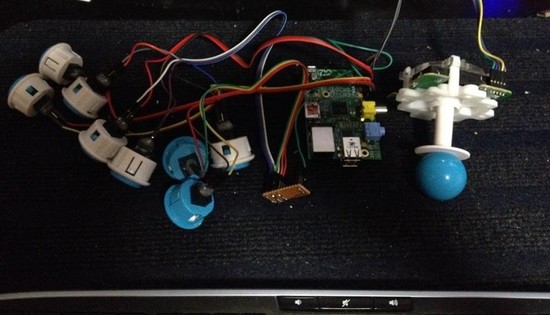
 My "testing" platform for the Porta-Pi Arcade. Connected to a HDMI monitor.
© 2013-2023 Ryan Bates and © 2013-2023 Retro Built Games, LLC. All photos, designs, documents, and graphics (C) Ryan Bates. All Rights Reserved.
This site is best viewed on a desktop PC. Raspberry Pi is a trademark of the Raspberry Pi Foundation. ARDUINO® and other Arduino brands and logos published in the website are Trademarks of Arduino AG.