Guide to Painting
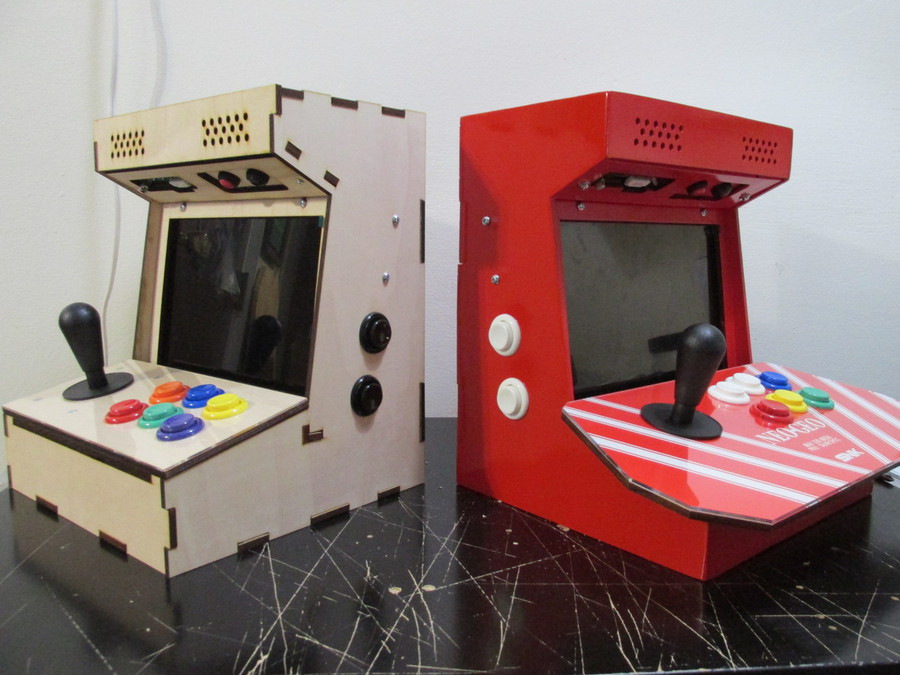
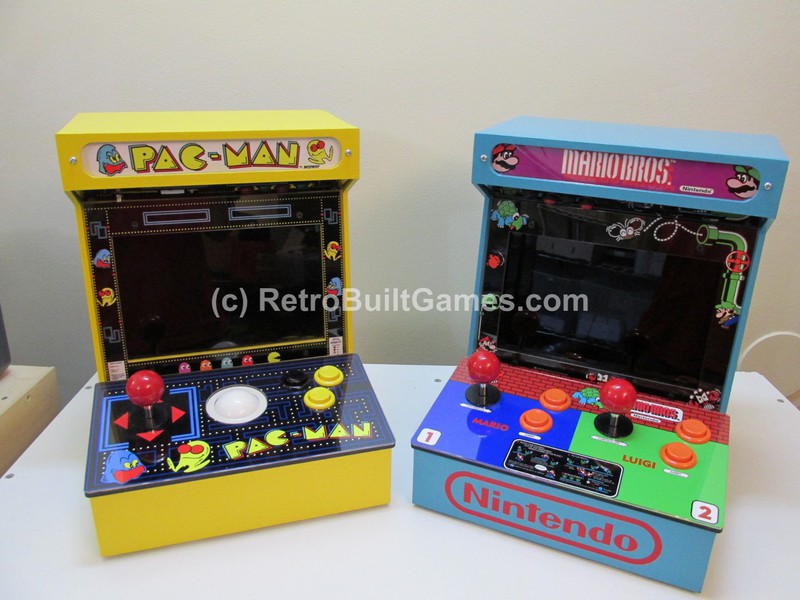
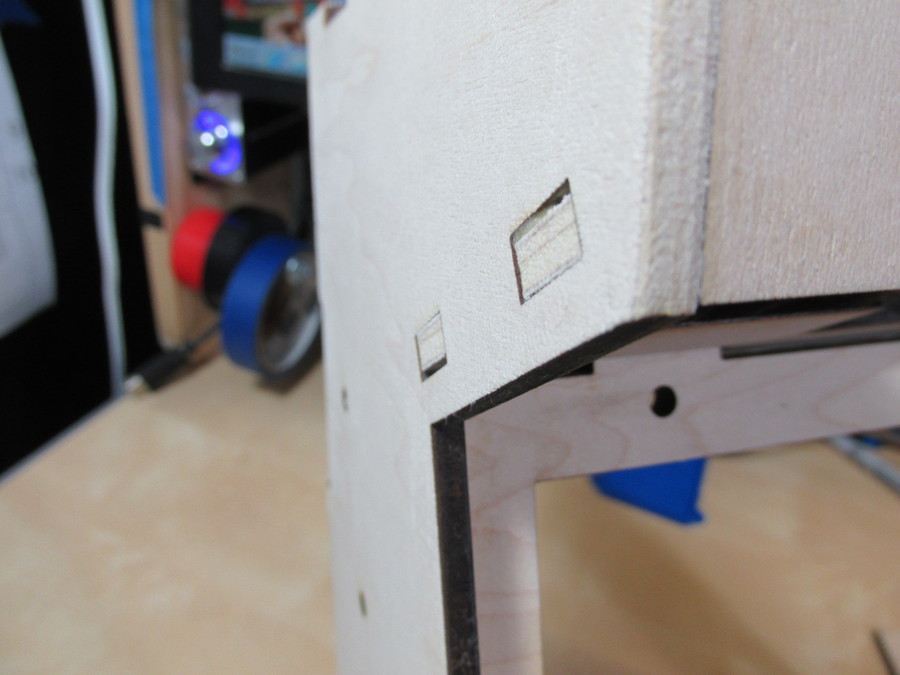
A few people comment on how they dislike the finger-joint (puzzle piece ) look of the cabinet. I can understand where they are coming from. This design is crucial for a rigid and tough construction, but it does not juristic the final look. I spent the last 5 days pulling all the stops to show you how to properly sand, fill, and paint the cabinet to achieve the seamless look.If you want a themed cabinet (Donkey Kong, Pac Man, MVS...) you need to pull out all the stops.
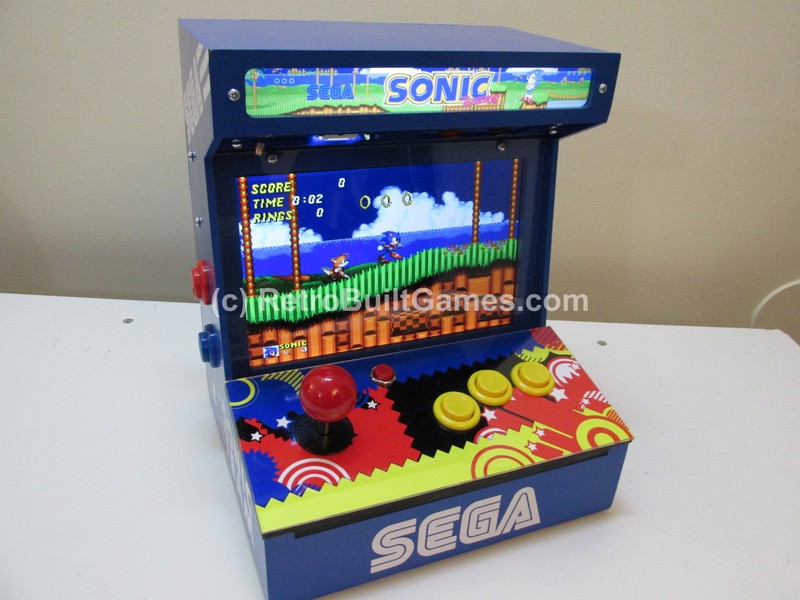
I prefer the look of proper paint job, color, and good graphics. It's what draws you to the arcade. This is where that phrase the last 10% of the job takes 90% of the time. When painting and doing art/ graphics, you get what you put it. This is not a job you want to rush or half-ass. Full-ass it and take your time.


Items needed:
- A power sander! (this job it too difficult without one)
- Sand paper for your sander: 80, 120, 220 grits
- Extra sand paper for manual touch up (220 grit). Though higher grit would be preferred (say ~500).
- Primer (use a quality primer)
- Paint brush ( foam brush preferred)
- Paint (brand name, no cheapo stuff or "This half-full can is 10 years old, I'm sure it's fine")
- Wood Filler (or Bondo)
- Patience
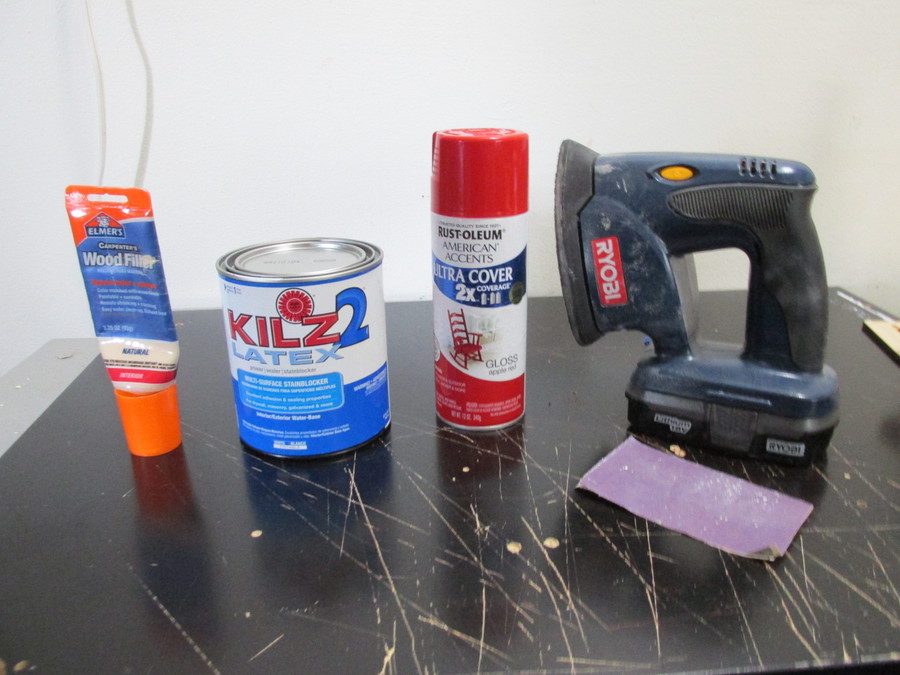

Sand every joint and coner flush. My $30 cordless sander (uses same battery as my cordless drill) makes this task much easier. Do this outside.
Wipe the dust off with a dry, lint-free rag.
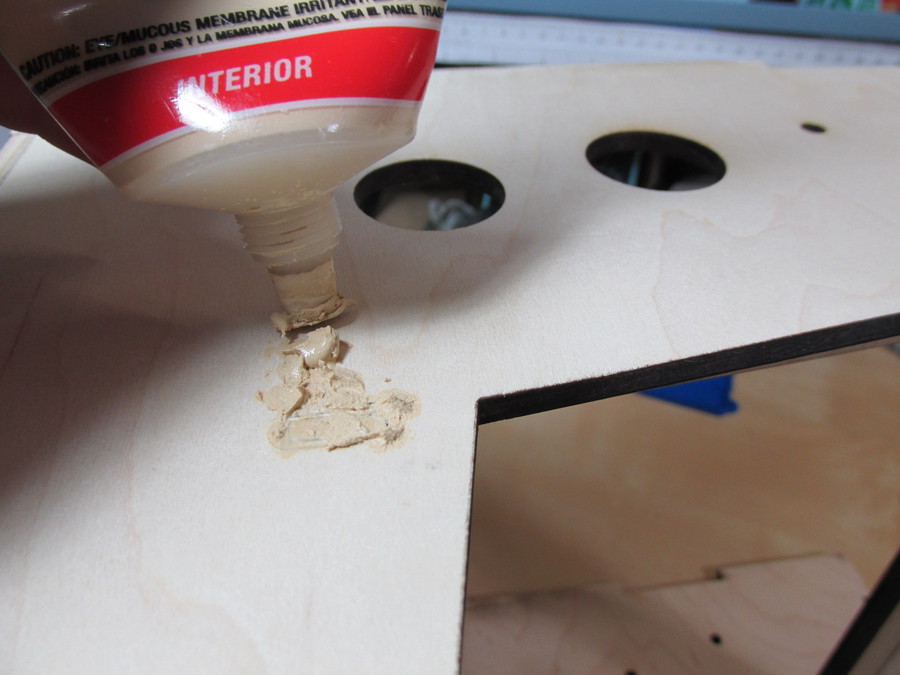
Fill ALL gaps with the wood filler/putty. Use an old gift card to scrape and smooth this over. Let it dry. Sand again using 120 grit. It is likely the wood putty will shrink as it dries. You may need to refill sunken holes with the putty. Wait for it to dry and sand again.
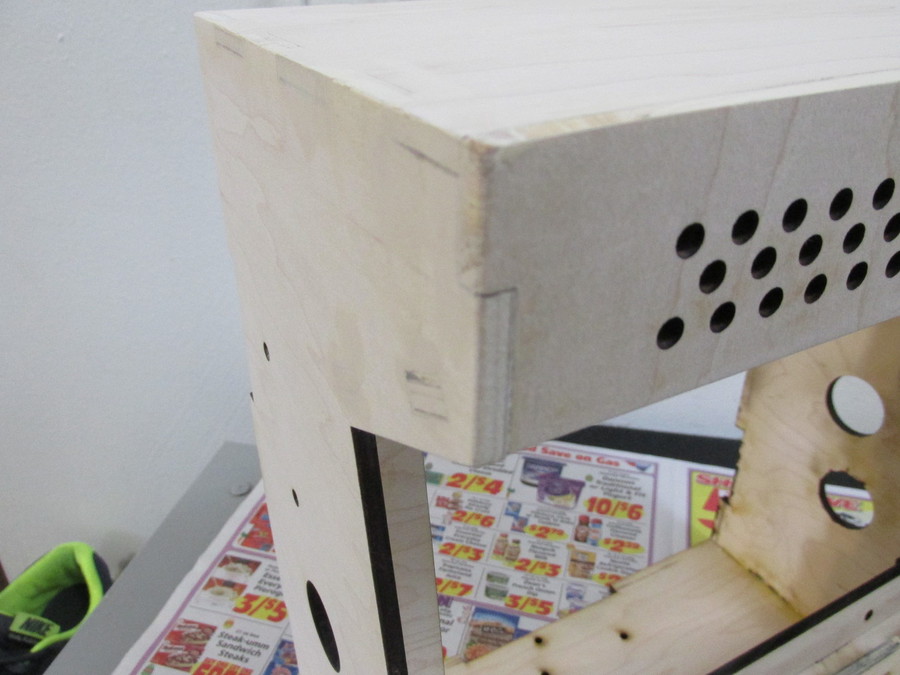
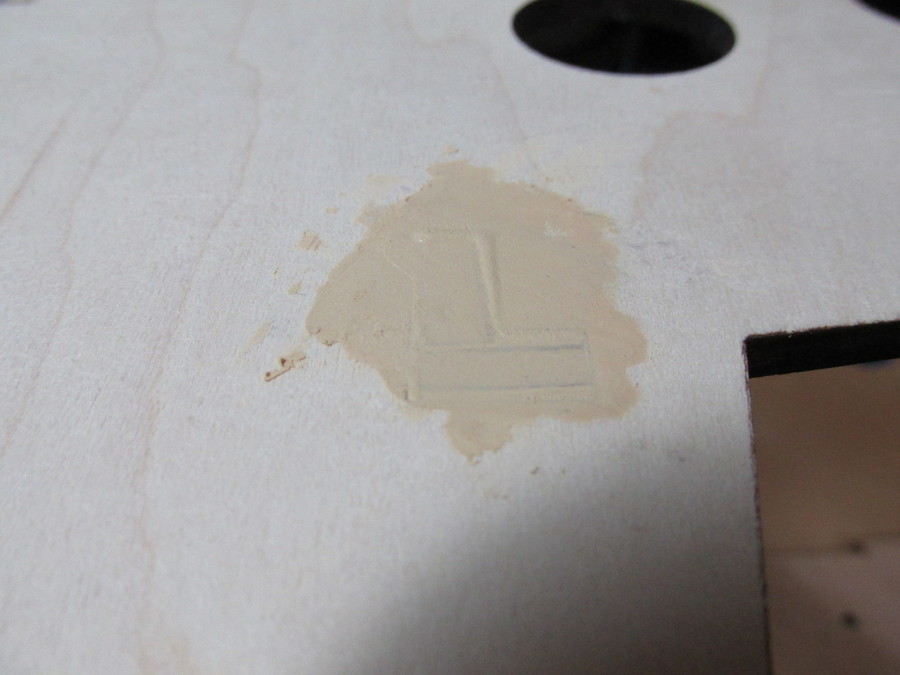
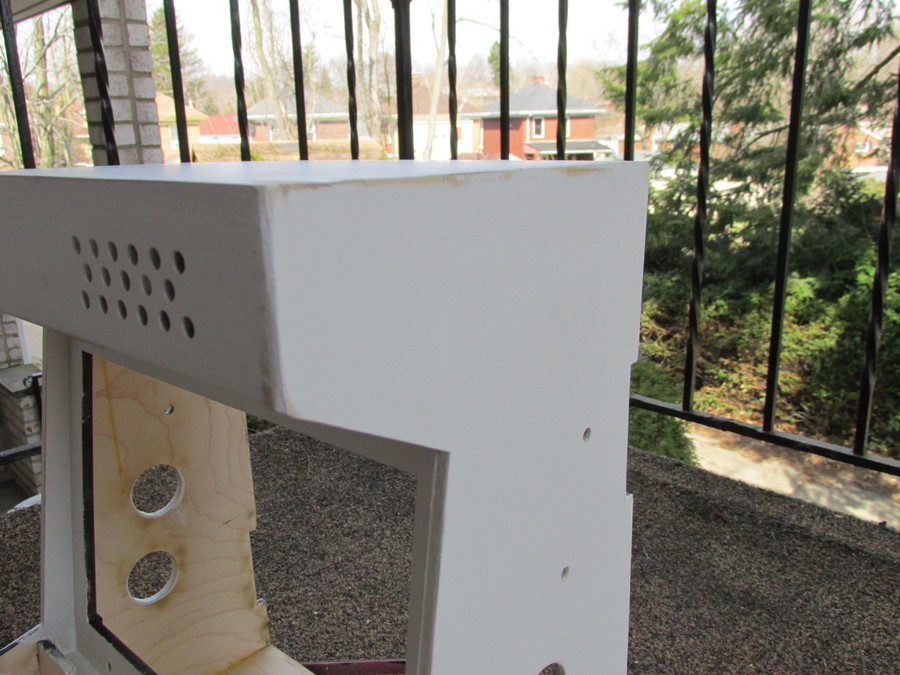
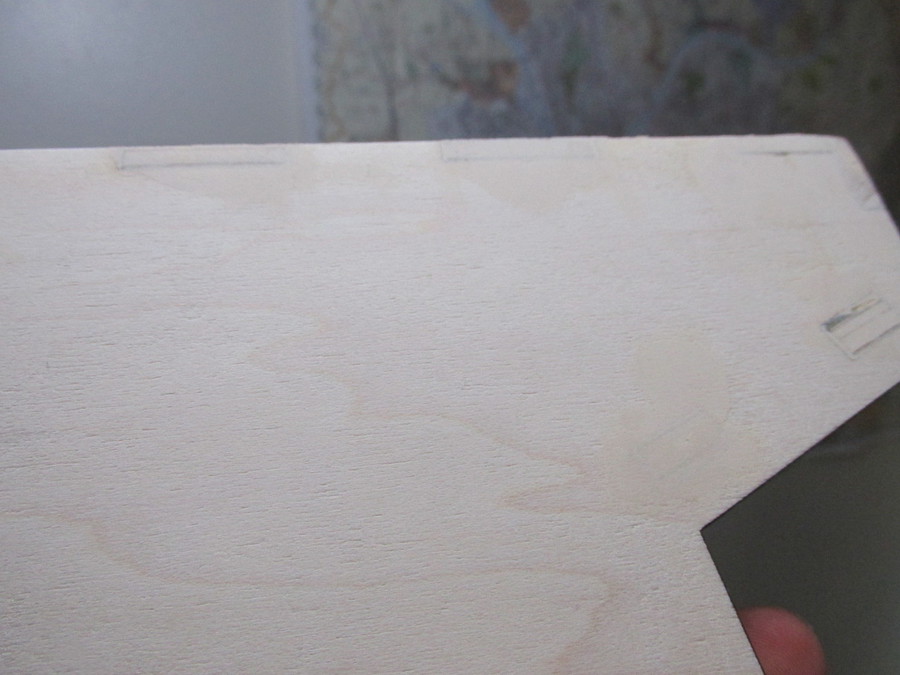 Everything should look and feel smooth by this point. Seams are almost hidden.
 Primer Ready!
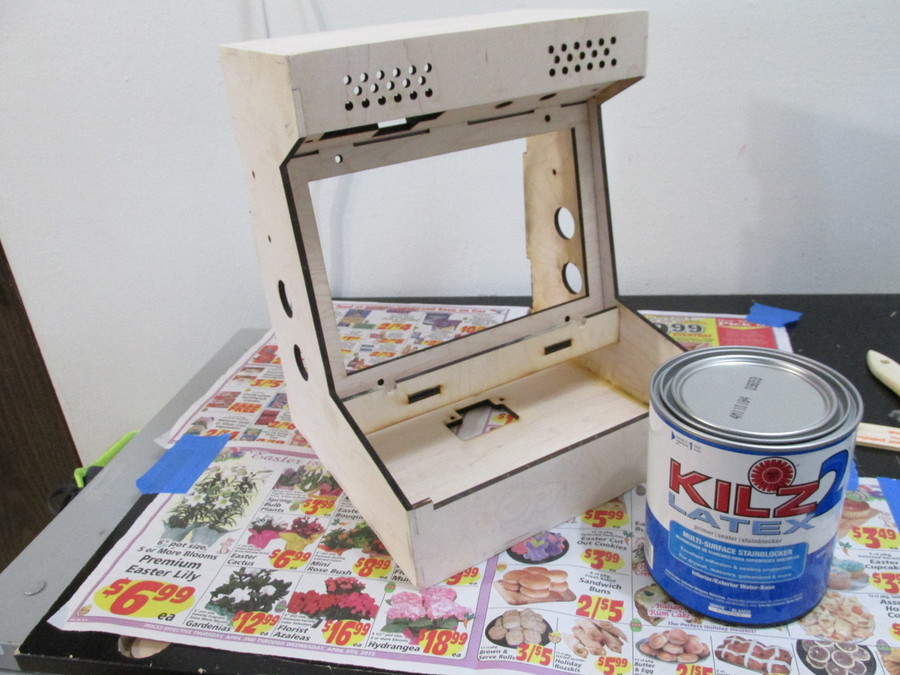
Follow the directions for your primer of choice. I painted on three coats of primer allowing it the dry properly between each coat. This will build up a thickness that we can sand down, removing and filling any gaps and surface inconsistancies. Be absolutely sure to allow the last coat of primer to dry thoroughly before final sanding. I am using Kilz Latex 2. Kilz because it's what I consider "quality" and it goes on thick. Latex based becaused it is water-based so easy cleanup and low odor.
This Kilz #2 latex primer is rather thick. It is latex based so you can thin it with water to improve leveling (lessing brush markings). Recently I have been adding Floetrol (a paint conditioner) and thining this paint with water only slightly to use this primer with a foam brush. The Floetrol keeps the paint wet longer with helps the leveling process. YMMV.
 Prime Time
Bust out your sander again, this time with 120 grit and sand away the brush strokes. After that switch to 220 grit and sand the rest by hand. Keep a consistant sanding path to avoid scratches. Wipe all dust away with a dry cloth. Be sure all dust is removed. The seams should be hidden at this point. If they are not; repeat sanding and priming.
 more sanding...
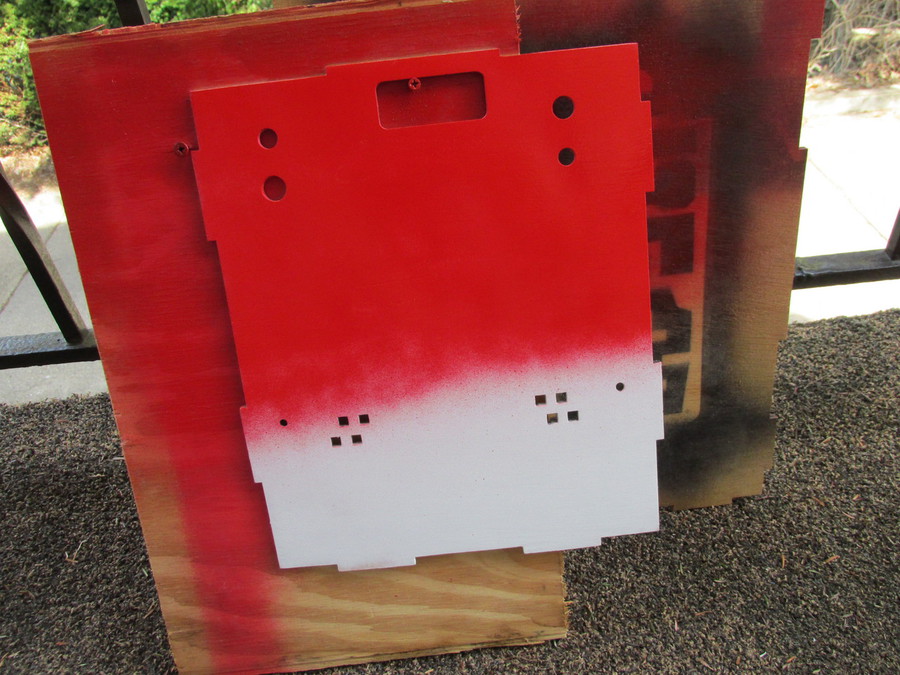 Add some color
 first coat...
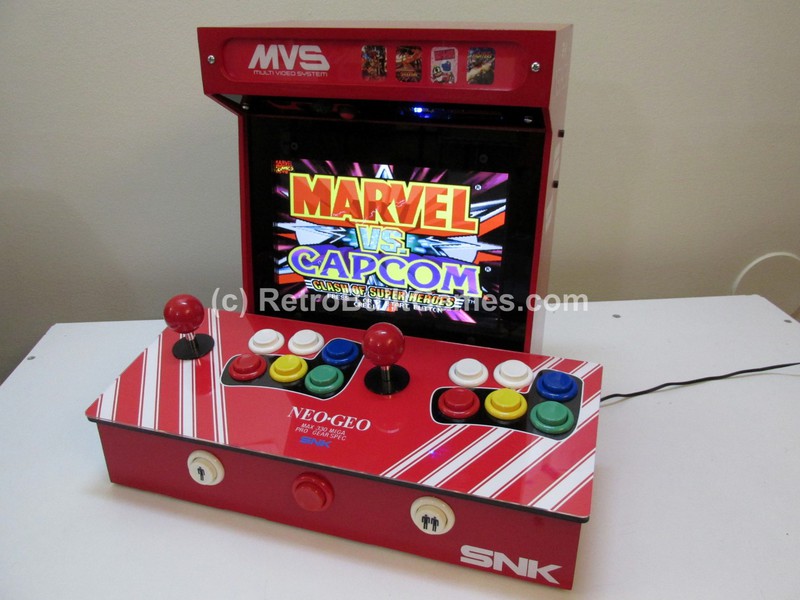
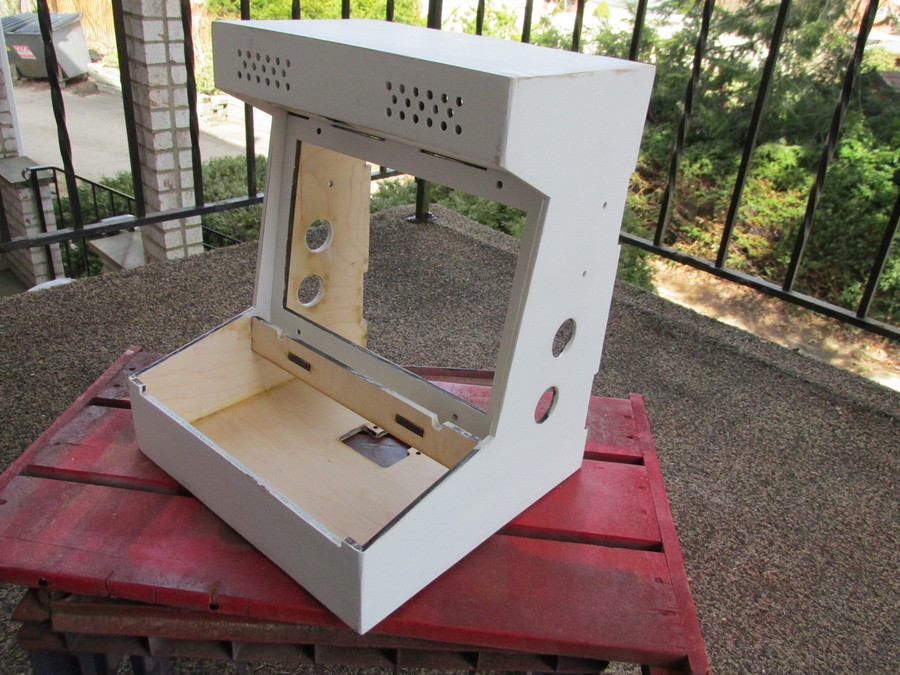
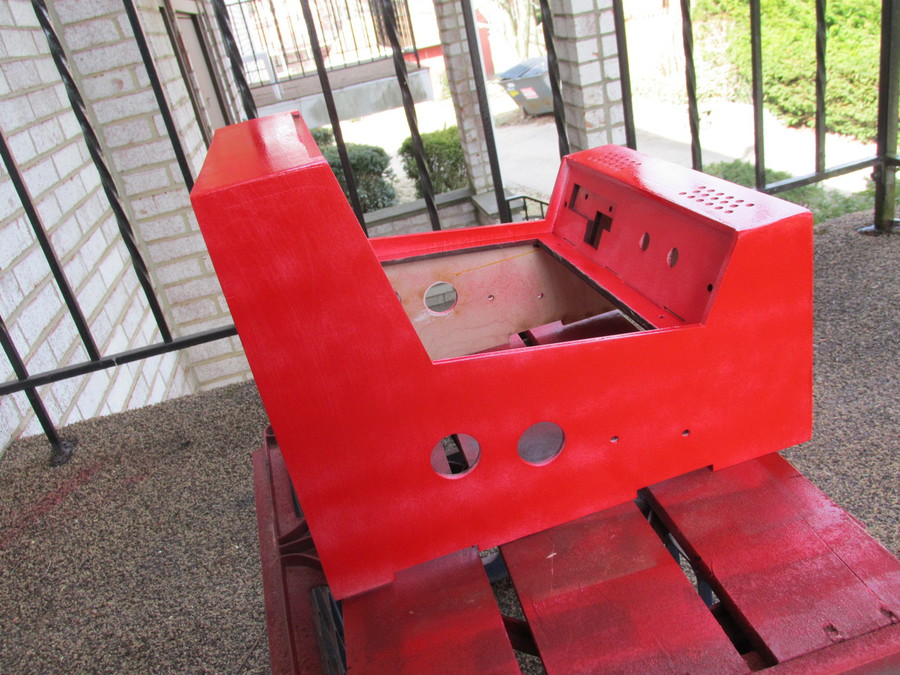
I use a quality spray paint for the final coats. I prefer spray paint as with a steady hand and ideal painting conditions (temp + humidity + no wind) I am happy with the results.
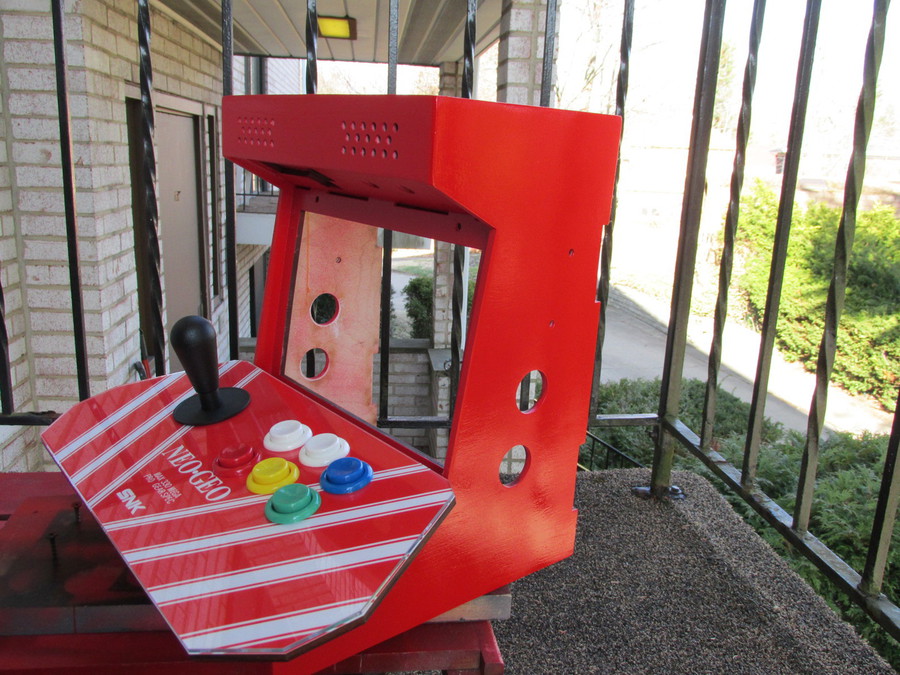
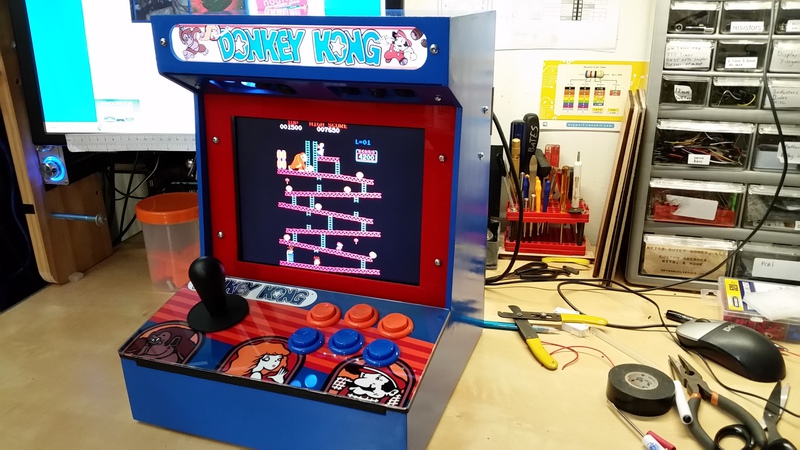
Following the directions of the paint I used, I did two coats and allowed the paint to dry 24 hours. Then I did a final touch up with my 220 (500 is better) grit all over. Removed all dust, and did two more coats; allowing the last coat 24+ hours to dry before handling. I brought the cabinet out into natural sunlight (on a sunny day) and visually inspected it. I noticed some glossy areas and some flat areas. I decided to do one last coat to even the gloss tones. I let this dry 24 hours.
Color used is Candy Apple Red Gloss


Final thoughts: You can use a spray can primer, but it will take 2-3x more coats to build the same layers as can paint.
Take your time and be patient! Love the paint, be the paint.
© 2013-2023 Ryan Bates and © 2013-2023 Retro Built Games, LLC. All photos, designs, documents, and graphics (C) Ryan Bates. All Rights Reserved.
This site is best viewed on a desktop PC. Raspberry Pi is a trademark of the Raspberry Pi Foundation. ARDUINO® and other Arduino brands and logos published in the website are Trademarks of Arduino AG.